This website requires certain cookies to work and uses other cookies to help you have the best experience. By visiting this website, certain cookies have already been set, which you may delete and block. By closing this message or continuing to use our site, you agree to the use of cookies. Visit our updated privacy and cookie policy to learn more.
This Website Uses Cookies By closing this message or continuing to use our site, you agree to our cookie policy. Learn MoreThis website requires certain cookies to work and uses other cookies to help you have the best experience. By visiting this website, certain cookies have already been set, which you may delete and block. By closing this message or continuing to use our site, you agree to the use of cookies. Visit our updated privacy and cookie policy to learn more.
Home » Let's Talk Resilient: Rubber Flooring Installation Tips from the Pros
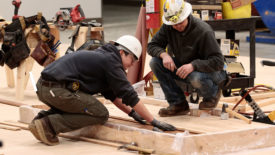
For some tips on installing rubber flooring I asked two experts in the field to give me some feedback - Dave Harris, Commercial Sales manager for the R.C.A. Rubber Company, and Guenther Kerscher, Technical Director for the Nora Rubber Flooring Division of Freudenberg Building Systems. Both were generous with their information and I thank them for their assistance.
For starters, job site conditions are, as with all resilient products, a key to success. Make sure the building is climate controlled - ideal conditions are around 70 degrees Fahrenheit and 50 percent relative humidity. That means if the building does not yet have the heat or air conditioning on, don't start the job. Get the material on to the job site at least two days before installing, if not longer, so the product can acclimate to the building conditions. If the area is exposed to direct sunlight, keep the flooring out of the sunlight by covering those windows while the product is acclimating, during installation, and after installation until the adhesive is cured.